
The Killer Guide to Killer Lashes
Blow them away with our simple steps

Step 1
We like to apply our falsies as a finishing touch to a perfectly made-up face, but you can also apply them before starting your eye makeup.
Step 2
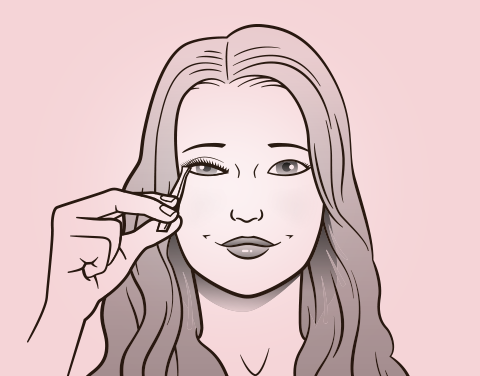
Using tweezers, remove your lashes from their tray (carefully!) and hold them to your eye to check the length. Your lashes should start a little from the inside corner of your eye – if they’re too long, trim with scissors from the outer edge.
Step 3
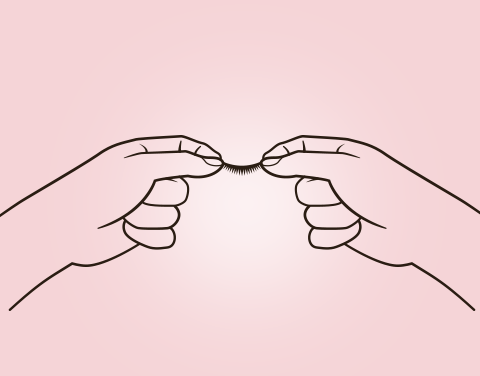
Take both edges of the lash and bend them in a ‘U’ shape for a few second before applying a thin layer of lash glue along the band of your falsies and give it 30 seconds to dry. NEVER apply adhesive directly to your eyelid.